Overview
August 2023
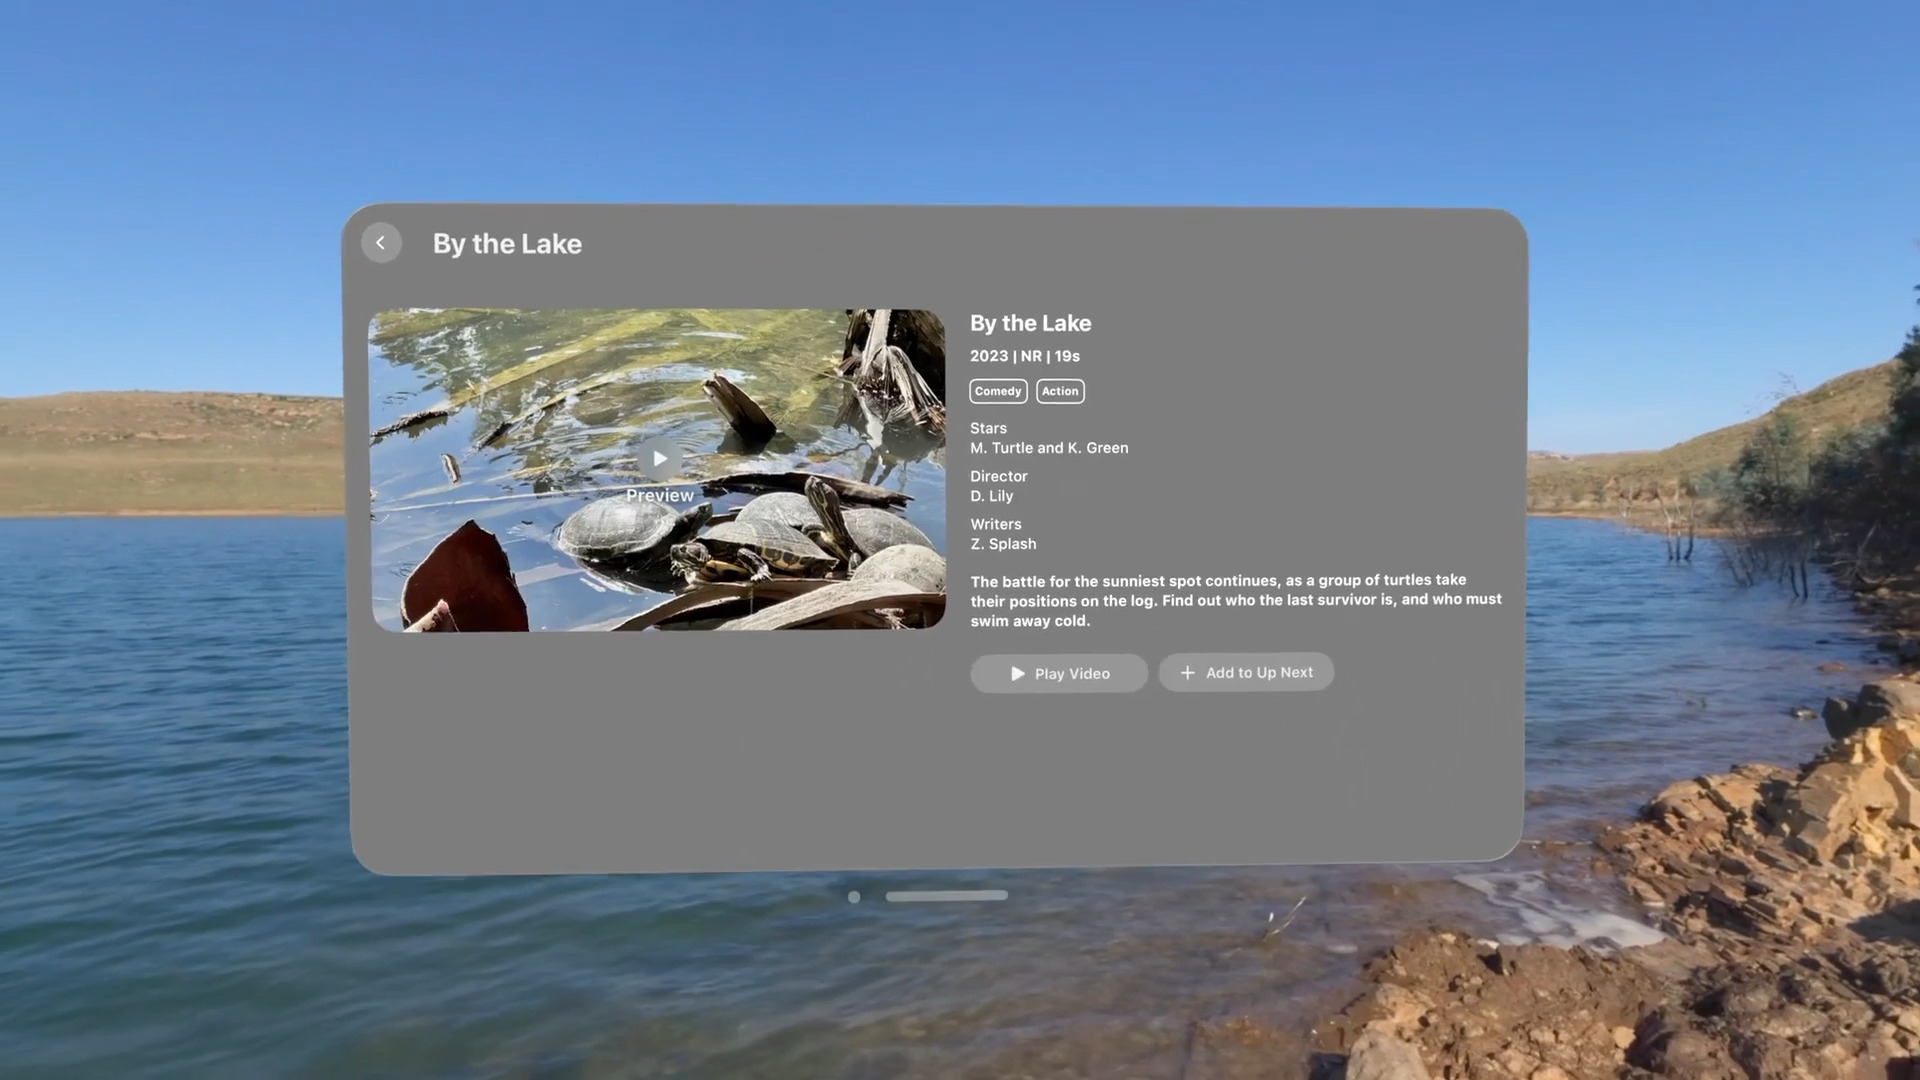
In VisionOS, we can create an immersive “Full Space” app that can block out and replace the user’s environment. With this VR capability, the first thing you may want to do is to add a skybox!
However, there isn’t an official API to add a skybox to replace the user’s environment. I found the easiest way to do it is to create a giant sphere, invert it, and attach your skybox material on it. I’ve attached the code below to show you how to do it.
Solution
If you are a swift expert, feel free to copy and use this code. If you are a beginner, I’ve added some inline comments for easier understanding. The below code came from Apple’s Destination Video sample code.
To use it, just create a new entity and call .addSkyBox on that entity.
import SwiftUI
import RealityKit

struct YourSwiftUIView: View {
    var body: some View {
        RealityView { content in
            let rootEntity = Entity()
            // We extend Entity class with the .addSkybox method.
            rootEntity.addSkybox(for: "skyboxName")
            content.add(rootEntity)
        }
        // RealityView is a new SwiftUI component for VisionOS that allows you to use RealityKit features. Learn more here: https://medium.com/p/41e18224199f
    }
}
However, .addSkyBox is not a built in function, so we have to extend the Entity class and code it ourselves. Essentially, we load the texture, created a giant sphere, flip it, apply the texture, then rotate it to a specific degree so it looks good to the user.
extension Entity {
    func addSkybox(for destination: Destination) {
        let subscription = TextureResource.loadAsync(named: destination.imageName).sink(
            receiveCompletion: {
                switch $0 {
                case .finished: break
                case .failure(let error): assertionFailure("\(error)")
                }
            },
            receiveValue: { [weak self] texture in
                guard let self = self else { return }
                var material = UnlitMaterial()
                material.color = .init(texture: .init(texture))
                self.components.set(ModelComponent(
                    mesh: .generateSphere(radius: 1E3),
                    materials: [material]
                ))
                // We flip the sphere inside out so the texture is shown inside.
                self.scale *= .init(x: -1, y: 1, z: 1)
                self.transform.translation += SIMD3<Float>(0.0, 1.0, 0.0)

                // Rotate the sphere to show the best initial view of the space.
                updateRotation(for: destination)
            }
        )
        components.set(Entity.SubscriptionComponent(subscription: subscription))
    }

    func updateTexture(for destination: Destination) {
        let subscription = TextureResource.loadAsync(named: destination.imageName).sink(
            receiveCompletion: {
                switch $0 {
                case .finished: break
                case .failure(let error): assertionFailure("\(error)")
                }
            },
            receiveValue: { [weak self] texture in
                guard let self = self else { return }

                guard var modelComponent = self.components[ModelComponent.self] else {
                    fatalError("Should this be fatal? Probably.")
                }

                var material = UnlitMaterial()
                material.color = .init(texture: .init(texture))
                modelComponent.materials = [material]
                self.components.set(modelComponent)

                // Rotate the sphere to show the best initial view of the space.
                updateRotation(for: destination)
            }
        )
        components.set(Entity.SubscriptionComponent(subscription: subscription))
    }

    func updateRotation(for destination: Destination) {
        // Rotate the immersive space around the Y-axis set the user's
        // initial view of the immersive scene.
        let angle = Angle.degrees(destination.rotationDegrees)
        let rotation = simd_quatf(angle: Float(angle.radians), axis: SIMD3<Float>(0, 1, 0))
        self.transform.rotation = rotation
    }

    /// A container for the subscription that comes from asynchronous texture loads.
    ///
    /// In order for async loading callbacks to work we need to store
    /// a subscription somewhere. Storing it on a component will keep
    /// the subscription alive for as long as the component is attached.
    struct SubscriptionComponent: Component {
        var subscription: AnyCancellable
    }
}
If you have multiple skyboxes you want to switch between, it may be beneficially to create a struct to represent their data.
enum Destination: String, CaseIterable, Identifiable, Codable {

    case beach
    case camping
    case creek

    var id: Self { self }

    /// The environment image to load.
    var imageName: String { "\(rawValue)_scene" }

    /// A number of degrees to rotate the 360 "destination" image to provide the best initial view.
    var rotationDegrees: Double {
        switch self {
        case .beach: 55
        case .camping: -55
        case .creek: 0
        }
    }
}
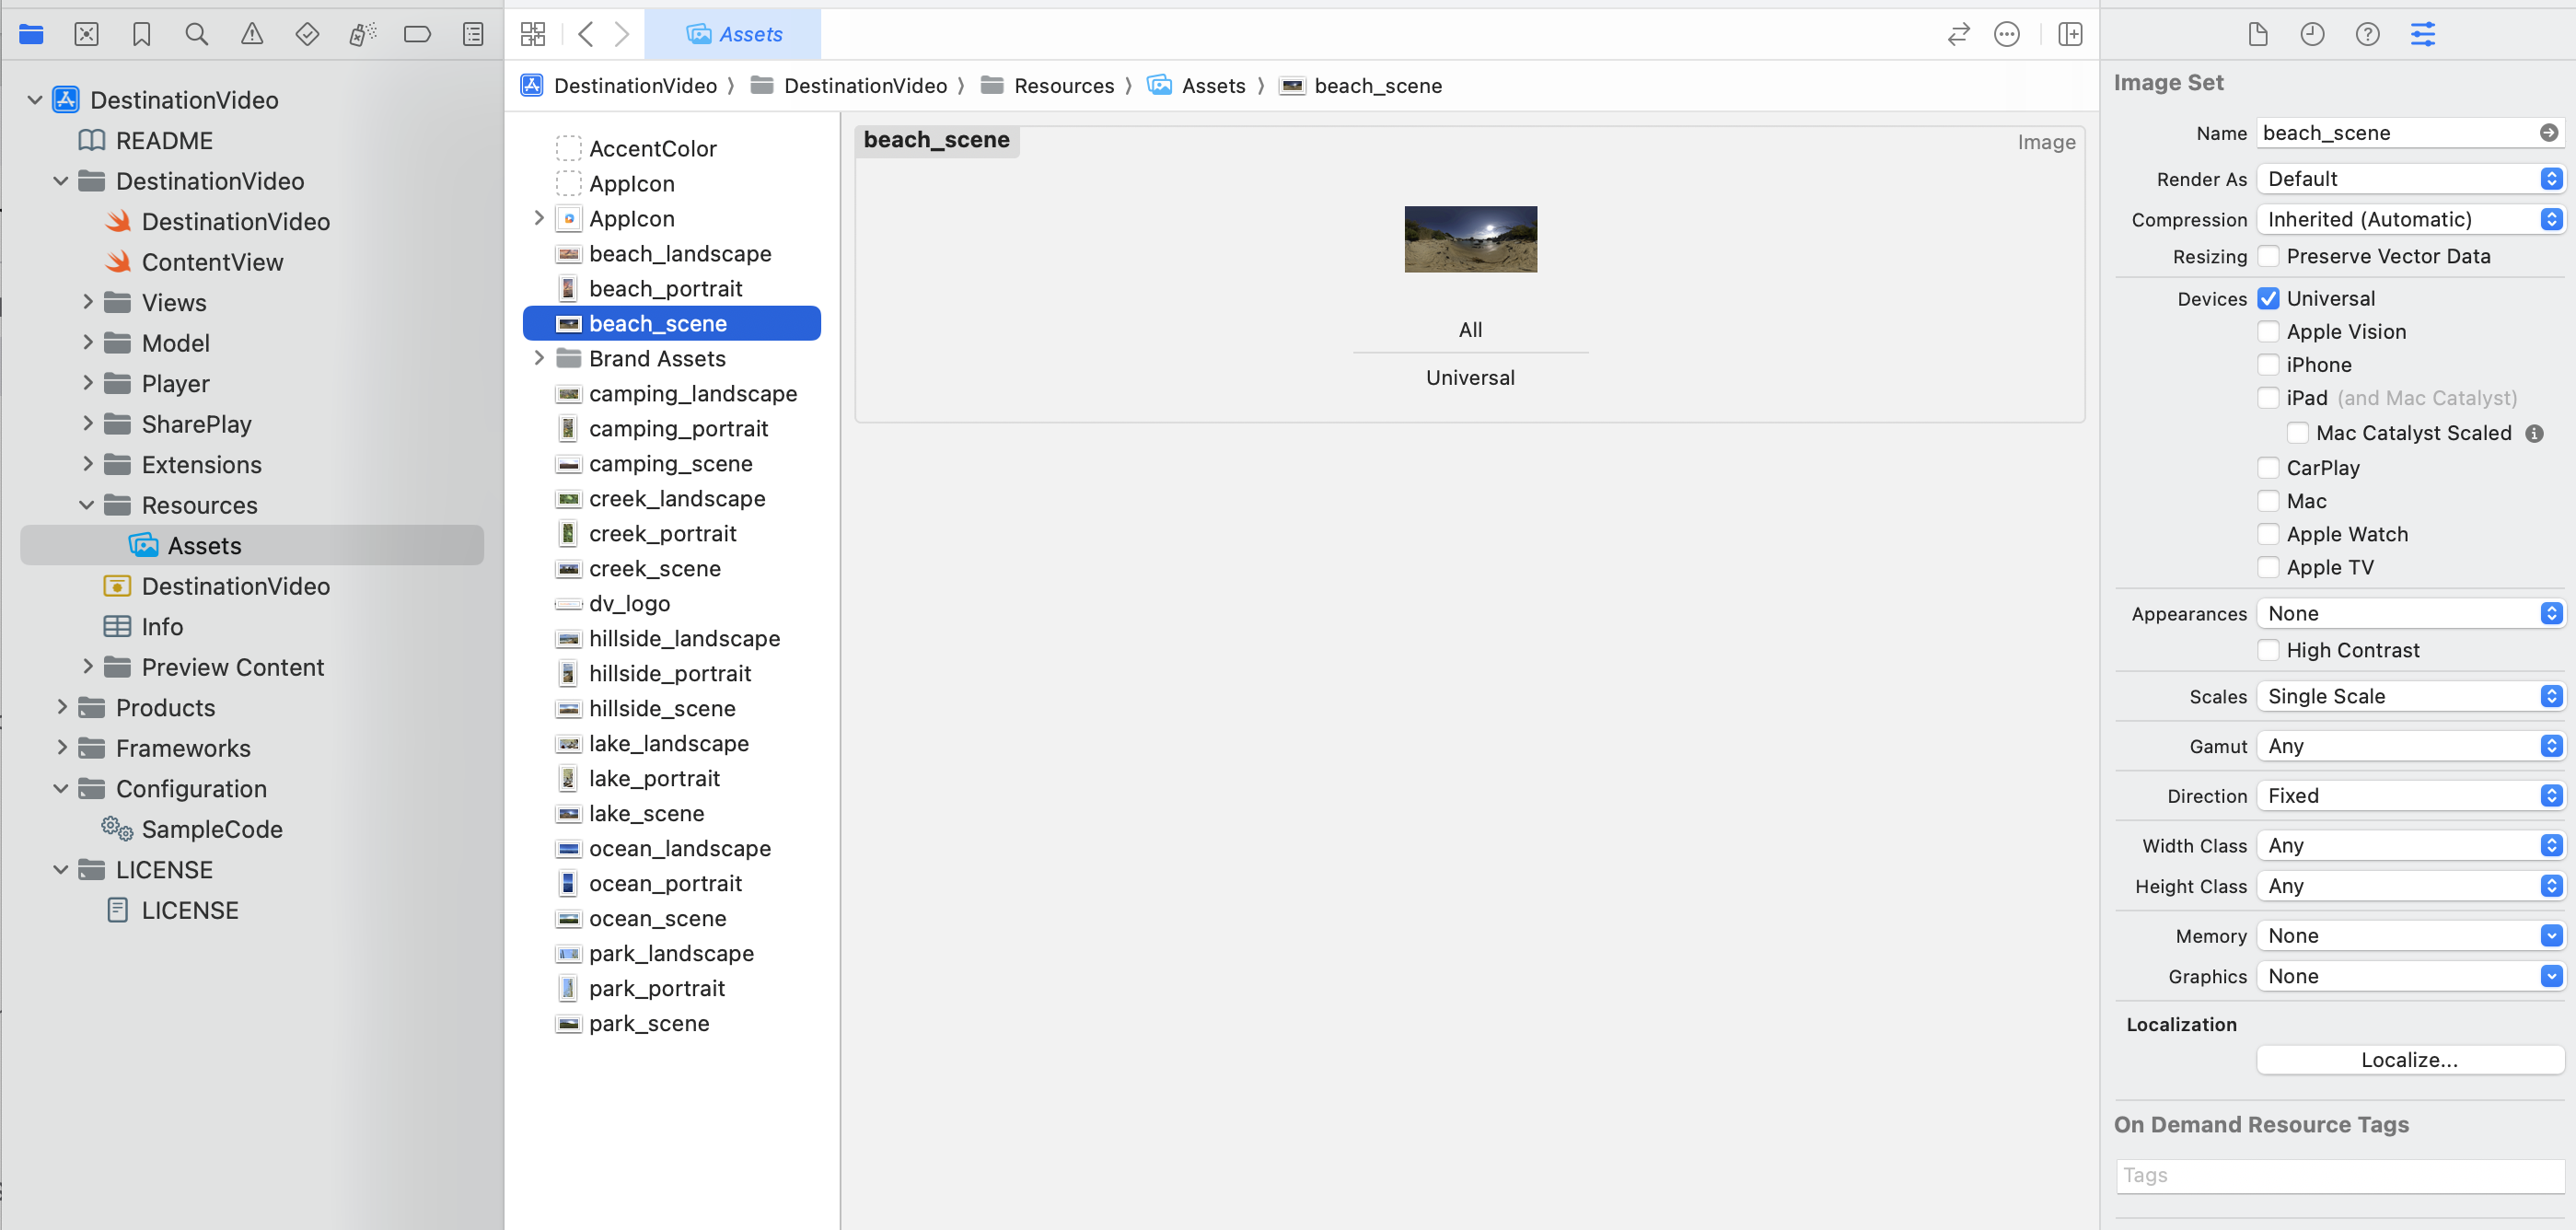
Lastly, make sure you drag and drop your skybox image to Assets.xcassets.
Beware
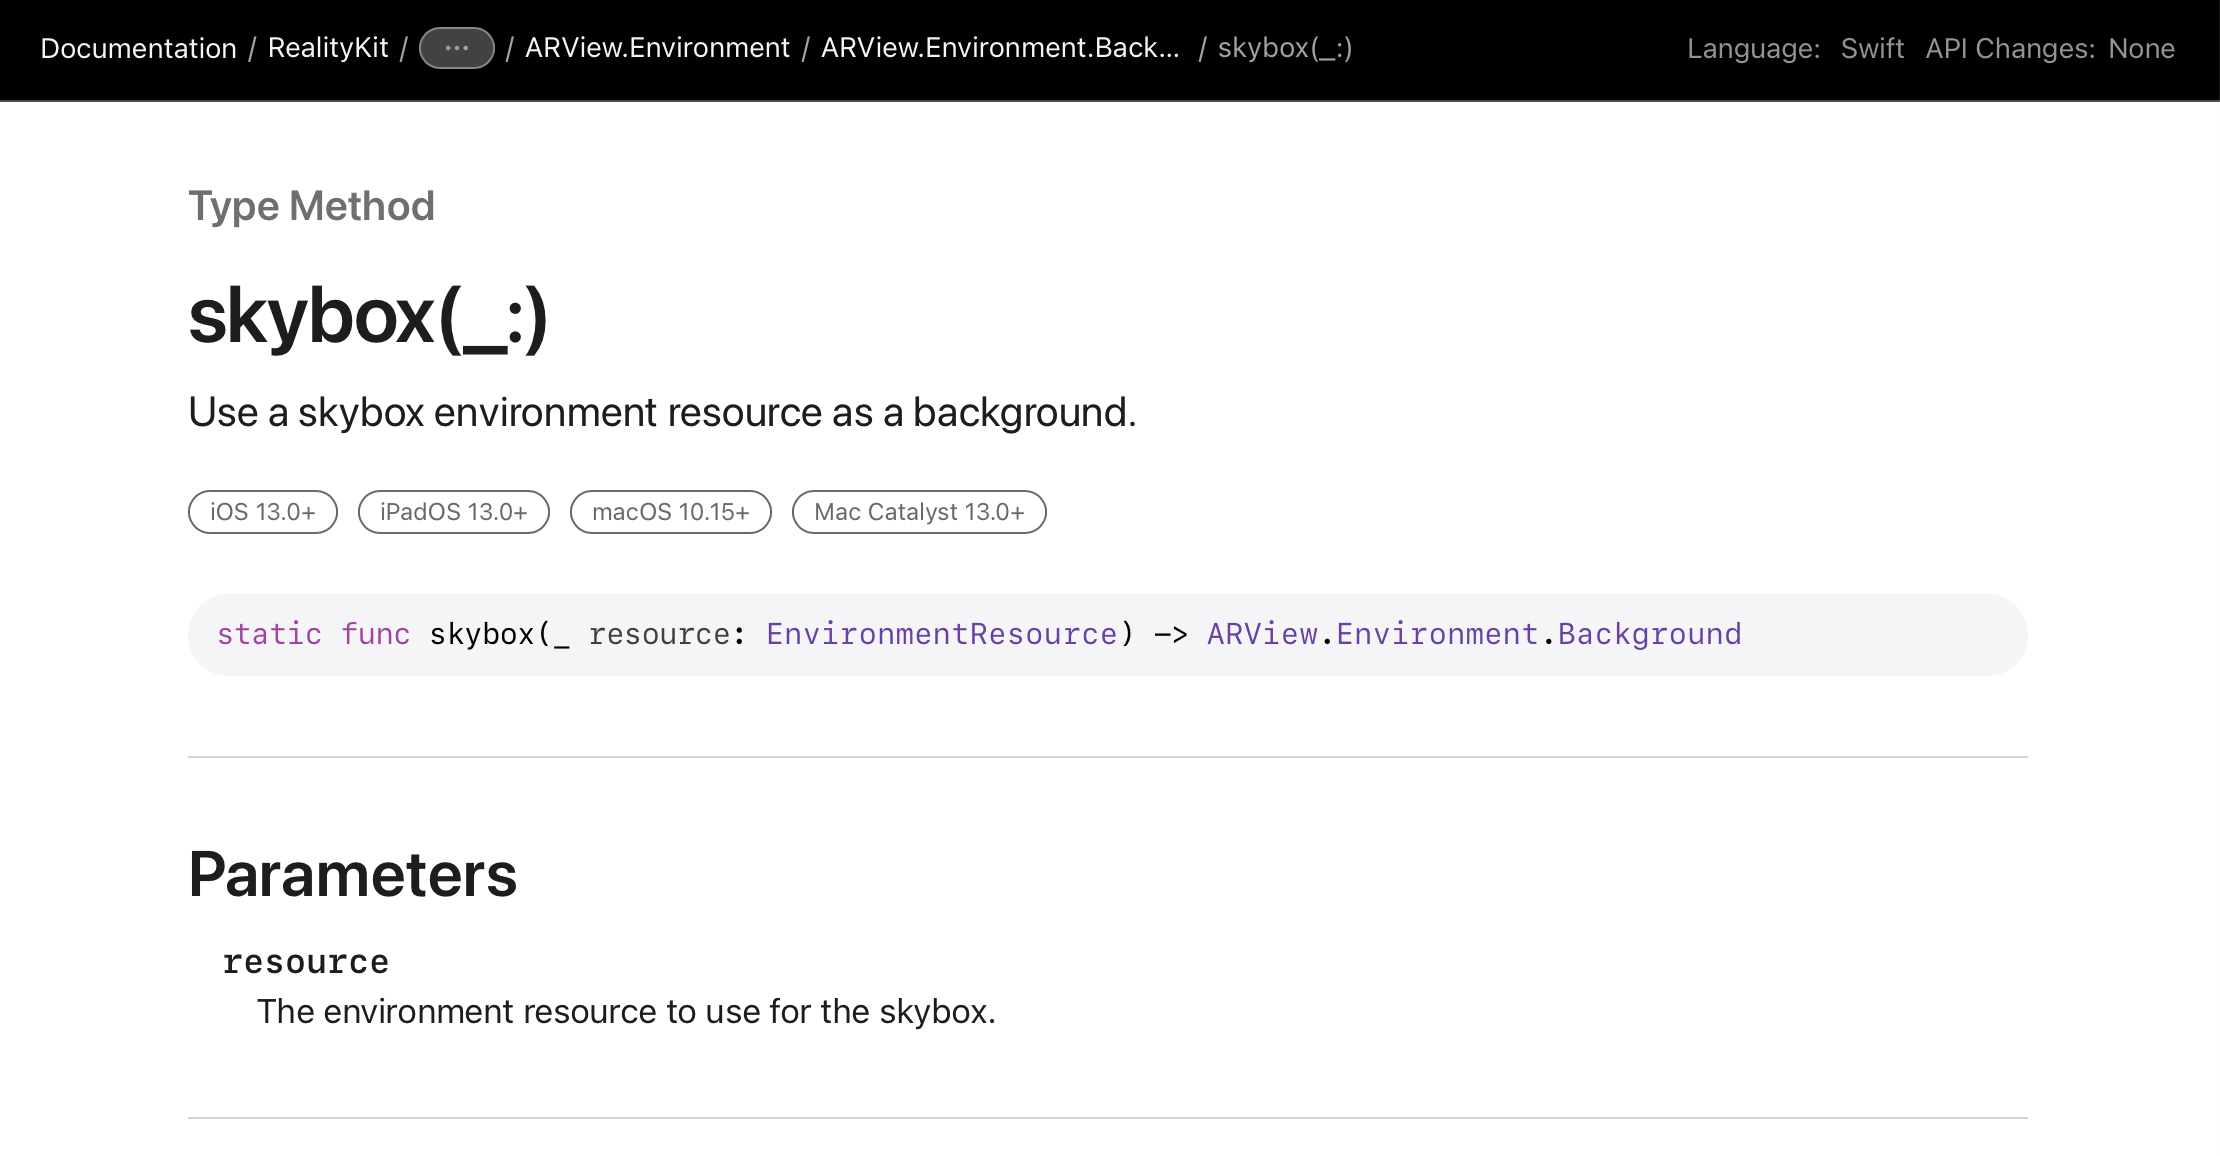
You may come across skybox(_ resource: EnvironmentResource) when searching. This method is NOT for visionOS. VisionOS is not in the list of supported platforms. Instead it is designed for AR applications mostly for IOS.
Moreover, this tutorial only covers how to add the skybox texture, it does NOT include instructions on creating environmental lighting based on that image. If you put a reflective sphere in your world, it won’t reflect the skybox.
If you are interested in learning, you’ll have to use ImageBasedLightComponent in addition to the above method. I may create another tutorial covering this in the future.


